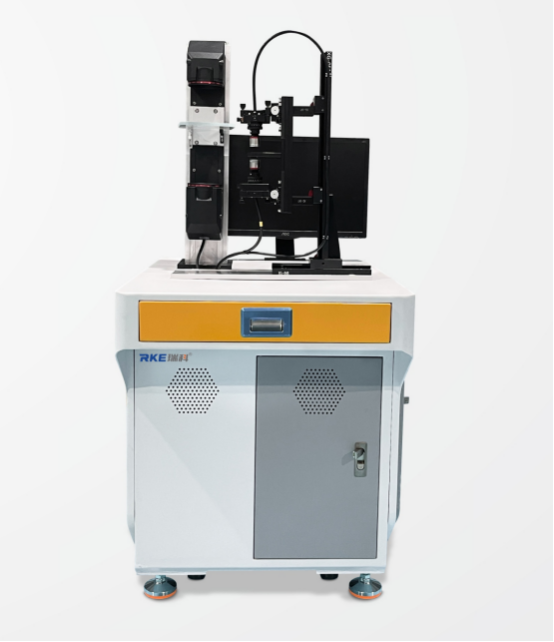
One-Click Inspection Machine
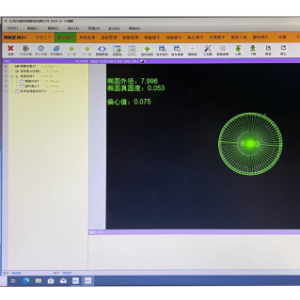
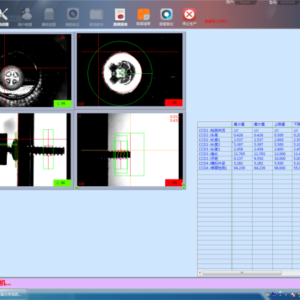
- It can replace a traditional manual quality inspection to measure data automatically, with high accuracy and eliminating artificial measurement errors, and can save measurement results in a computer for archiving and outputting reports.
- The equipment has universality and can be applied to products with difficult feeding mechanisms and complex product structures.
- Fit for the products to be detected with various kinds and small quantities.
- The operation mode is flexible and convenient, and the occupied space is small.
PRODUCT DETAILS
One-Click Inspection Systems differ significantly from traditional automated feeding vision equipment in both design philosophy and application scenarios. While both leverage visual technology for quality control, one-click systems prioritize simplicity, flexibility, and universal compatibility, making them ideal for manufacturers facing unique challenges.
Key Differences & Advantages
Operation Mode
- Require no complex setup—operators press a single button to initiate inspections
- Eliminate dependency on mechanical feeders, making them suitable for products with difficult feeding mechanisms (e.g., fragile glass parts or irregularly shaped components).
Automated Feeding Vision:
- Relies on mechanical arms or conveyors to feed products into view, ideal for high-volume, standardized production (e.g., automotive parts assembly lines).
- Requires integration with existing feeder systems, increasing setup complexity
Flexibility for Small-Batch Production
One-Click Systems:
- Designed for various product types and low quantities (1–100 units per run).
- Quickly switches between inspection profiles via drag-and-drop software
- Example: A jewelry factory uses one-click systems to inspect handmade rings without reprogramming.
Automated Feeding Vision:
- Optimized for mass production, struggling with frequent changes in product design or batch sizes.
Space and Cost Efficiency
One-Click Systems:
- Compact and require minimal space (0.5㎡), fitting into tight workshop layouts.
- Lower upfront costs due to reduced reliance on feeder mechanisms.
Automated Feeding Vision:
- Larger footprint and higher infrastructure costs, driven by mechanical components and integration needs.
Accuracy & Error Reduction
- Both systems achieve ±0.01mm precision, but one-click systems eliminate feeder-related errors (e.g., product misalignment during feeding).
**Why Choose One-Click Inspection?**
- Universal Compatibility: Works for complex geometries (e.g., turbine blades) and difficult-to-feed parts through adaptive imaging.
- Rapid Deployment: Operators train in under 1 hour, reducing downtime.
- Cost-Effective: Ideal for startups and small manufacturers with limited budgets.
RELATED PRODUCT
Contact
HOW TO CONNECT
